To create a new post. Log in as an administrator to the website. Then Go to
Posts -> Add New
You will see this page:
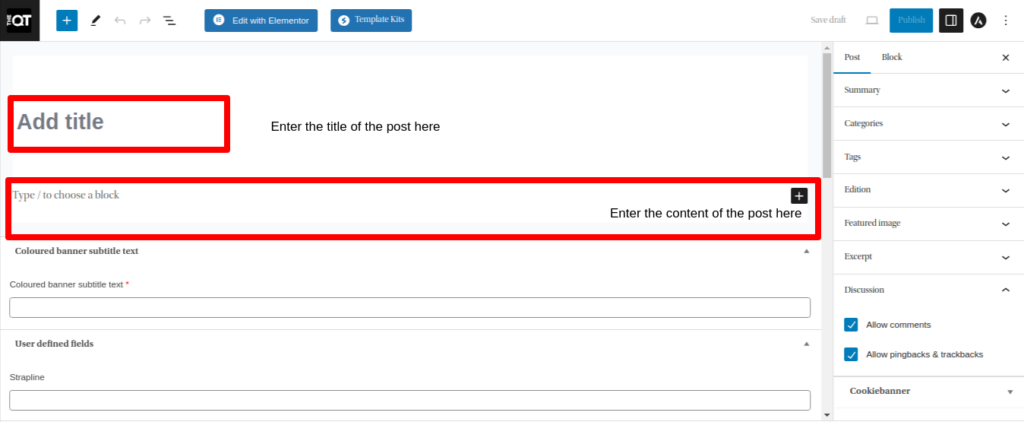
- Add the title in the “Add title” section
- Add the content in the “Type/to choose a block”
- If you want to add image with the caption that should show in the below format. Follow the instructions below.

a) Add the image after clicking the “+” option. And upload the image in it.
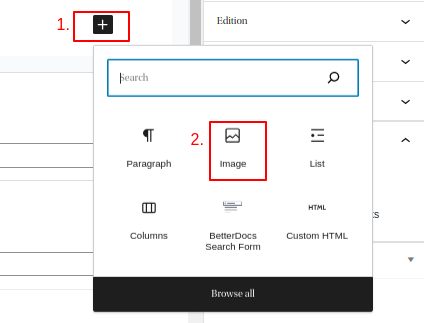
b) Then upload the image in it. After uploading the image you will see this option.
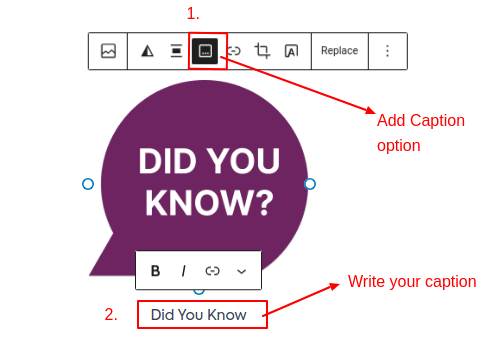
c) This will automatically add the category color to the caption.
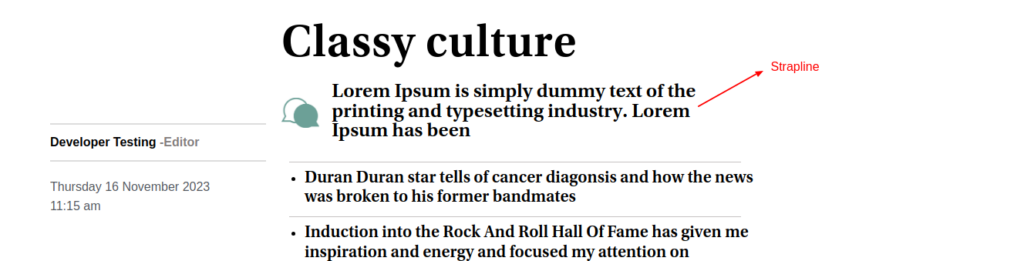
4. Add the text in the strapline that you want to show below the title in the SINGLE POST PAGE.
5. Below that there is a fields named “Teaser lines”. You can add the teaser line after using the list option as marked in the screenshot:
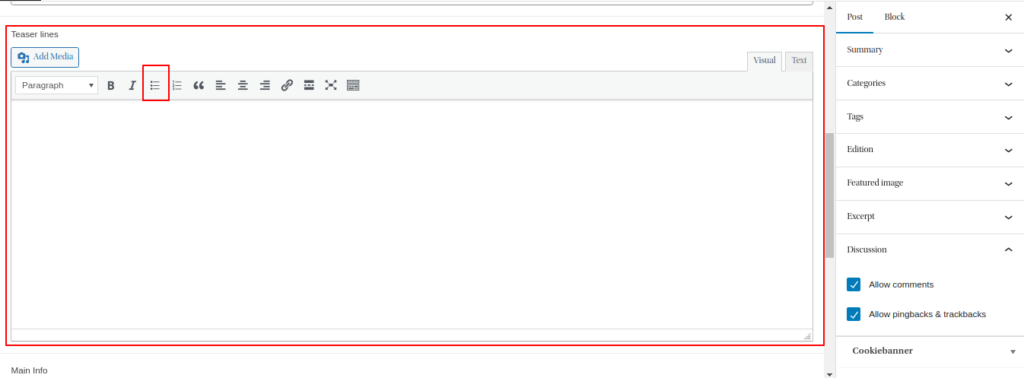
After that add the teaser line that you want to show in the posts as shown in the screenshot:

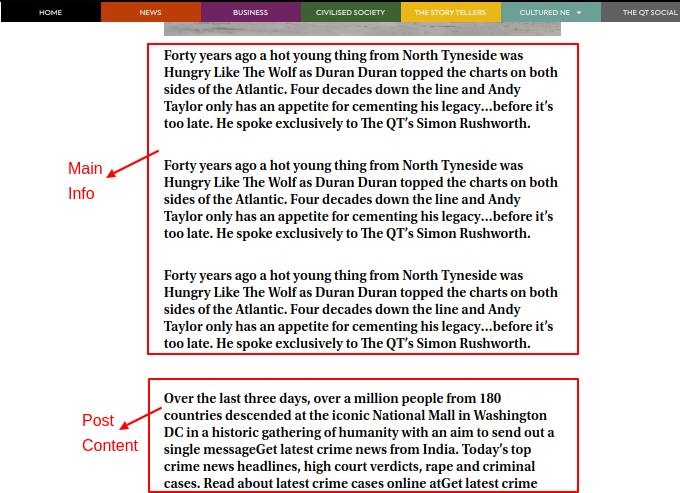
6. At the end of the page you will see the option named “Main Info”. Here you can add the main option that will show at the top of the content in the single post page. As mentioned in the screenshot:
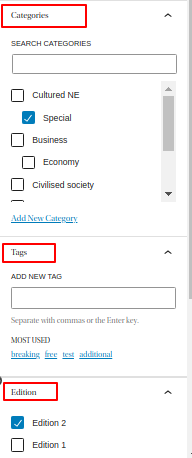
7. At the right hand side you will see Tags, Category and Edition options, Where you can assign a category, tags and edition to the posts.
a) The “BREAKING” tag will be used to show a post on the Home Page that may not be in the current edition.
b) If you want to hide any post throughout the website add “INVISIBLE ” to the post.
c) There is a tag named “FREE” which will be used to make the post available to all the user (guest/member/no membership).
8. After adding all of this you need to add a featured image to the post which will shown will the post, This option will be under the edition option. As shown in the screenshot.
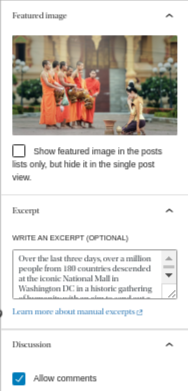
9. In the above screenshot you can see the options named “Excerpt“. Here you can add small introduction to the post. After that there is an option named “Discussion“. Here you can allow/disallow the comments in the post.
10. After following all these steps you can set the post “Publish”, “Draft”. You can also schedule the post to publish automatically. Click here to know for more info.